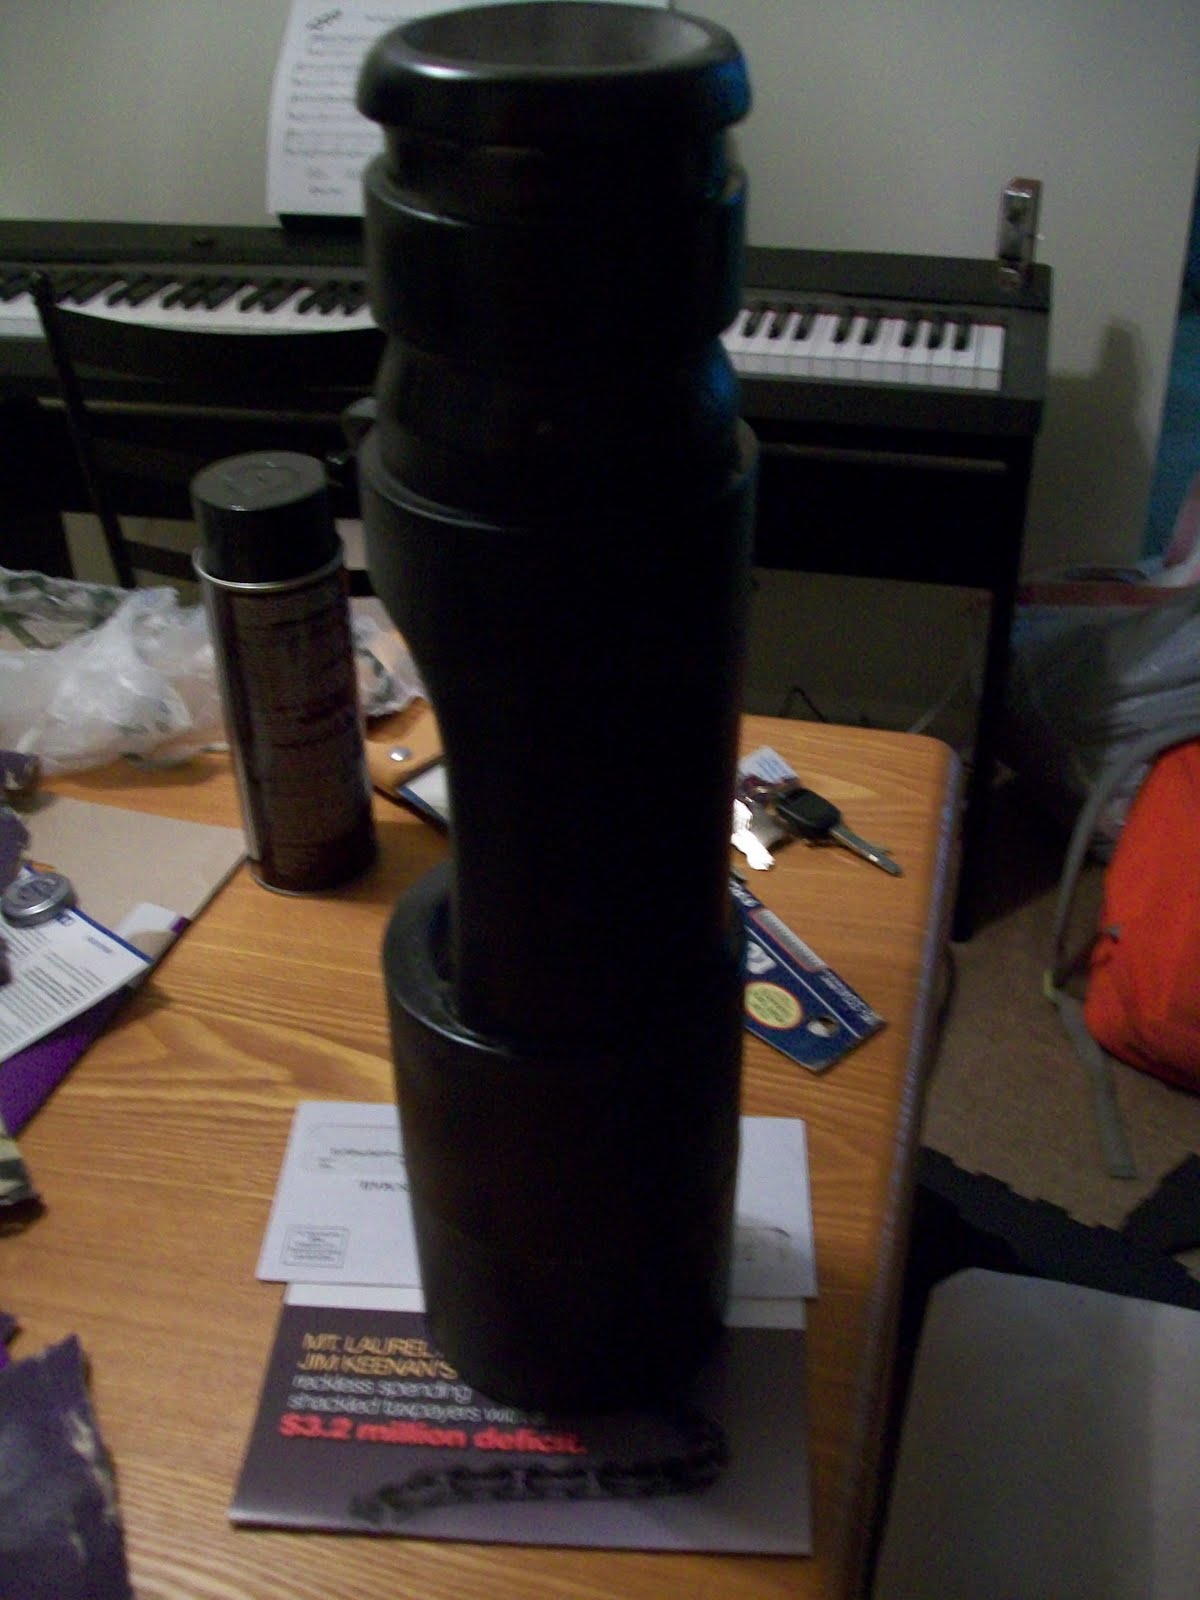
As can be seen in the above picture, the next step was to cut one of the 3" couplings in half and sand down the insides to allow them to slip comfortably over the 3" PVC pipe. The halves can be seen above on the left side of the picture, one underneath the 4" PVC rim to allow the two PVC pipes to fit together comfortably. You may notice also that I trimmed down the rim at the front of the 4" PVC pipe to ensure it looked more like the reference pictures. Finally, as can be seen to the left of the barrel, I cut the fluorescent bulb protector tube to a more manageable size, about 10".
Most of the cutting was done, so I finished up a little more sanding and began the process of putting on the filler putty. I used several batches to bond together the 4" and 3" PVC pipes. They had a bit of a gap between them, as was expected, so I filled that in with the filler putty. It took quite a few batches, but eventually it was all nicely filled in. After letting it dry, I sanded it more or less flat, nice and contoured.
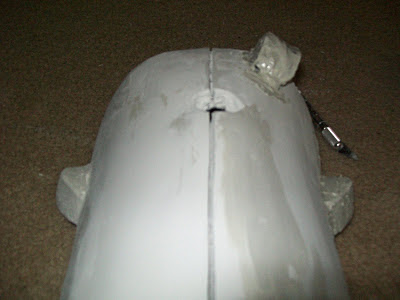
As you can see in the above picture, I cut out the little holes from the putty when it was partially dry with an Exacto knife. The whole process was pretty laborious, and I broke the knife's tip in the process, but it came out looking pretty much like the "real" thing. I also bonded the 3" coupling to the barrel on the forward end of the gun and tapered it. It's finally starting to look like what it's supposed to be! Additionally, I filled in some of the space between the 4" coupling and the larger PVC pipe and sanded that as well as I could.
Next, I placed the second piece of cut 3" coupling over the end of the barrel and puttied that into place, and properly sanded it. In order to create the illuminated rod in the center of the gun, I took a cheap plunger and cut the handle to the proper length. Then, I sanded the result down to reflect internal light a bit better. Below shows it mounted inside the barrel with an LED flashlight providing the illumination. I plan on wiring up a circuit featuring one or two RGB LEDs to produce any color in the rainbow.

After sanding, testing the mounting of the "glowing" rod
Sunday, October 30, 2011Today was an experimental one. When we got back from New York City, I managed to pick up a four-pack of the exercise mats that I'd been eyeing. With them, I cut out a few circles to mount the plunger handle inside of the gun, and attempted to cut out one of the shells. It was a bit too small, but it worked in that it was a proof of concept for the final shell.
Additionally, I cut out a small piece of foam and glued it onto the 4" rim. I then covered this with the putty and sanded it, before drilling a couple holes in this little nub. I screwed a bolt into the gun as shown below, which would be painted black with the rest of the barrel.
Tuesday, November 1, 2011
I began the final step before priming for paint on the barrel of the Portal gun - building up the end of the barrel to approximate what it looks like in game. At the moment of writing this, I'm partway through the sanding and articulation of this portion of the barrel. Hopefully I can finish it up this evening and then prime for painting tomorrow.
 Thursday, November 3, 2011
 Wednesday didn't give me much time (or inclination) to work on anything but continuing the sanding of the barrel tip. I patched it up a few times and got it into a pretty nice shape. I have to keep telling myself that it'll never be perfect and get on with it already! Today, however, I picked up my electronics parts from FedEx before work. After heading home, I went back out to the Radio Shack to pick up some wire and some flux, a must for good soldering.
First, I tested the LED with a fairly simple circuit to get a feel for the operation of the LED and the brightness. Needless to say, it was blindingly bright - whenever it would blink on it'd leave spots in my vision for quite awhile. Anyway, after testing, I breadboarded a circuit that would be similar to the one inside the gun. This would also allow me to tweak resistor values to get the best mix of color for each of the gun settings: an orange and a cyan, roughly matching the colors from the game.
Simple breadboarded circuit
The hardest part of the entire wiring process was getting wire leads on the surface-mount LED. It took a few tries, but I managed to get it soldered in a reasonable fashion and taped together so the wires wouldn't shift and short one another. The only thing I'm worried about is overheating, so at some point I'm going to need to install some kind of heat sink, considering that in the "cyan" mode, the LED is buzzing with a little over a watt of power, creating a lot of excess heat.
Anyway, after I tweaked the current going through the different colors depending on the setting, I was ready to wire everything up on a project board. I had one laying around that was a bit small, but large enough to accommodate the simple circuit. It ended up being pretty packed in, as seen below.
Nest of wires
Once I got all the various wires (two for the battery pack, three for the three-way rocker switch, and four for the LED leads), diodes, and resistors soldered into place, I flicked the switch and tested it out. I duct taped the LED to the end of the central "rod" that will be the centerpiece of the portal gun once it's finished. Tape will probably be what I use in the final piece, since it won't be visible inside the barrel's body. Anyway, here's what it looks like on each of the "settings":

Orange

Blue
The one snag here is heat dissipation. With one watt of sustained power pumping through the LED on the cyan setting, it's heating up to unacceptable levels. Tonight I ordered a heat sink and some thermal paste so I can mount the LED on the sink and hopefully keep the LED underneath the 85*C max operating temperature. According to the data sheet, it's probably heating up rather quickly to around 275*C, which probably isn't great for the lifetime of the poor little LED.
Additionally, I cut out a piece of foam that would become the back shell. The hardest part is going to be shaping it into the "dome" shape of the real gun, but I'm sure I'll figure out a way.
Friday, November 4
Today was paint day! After getting off work, I put down a piece of cardboard and covered the barrel with spray paint primer. After waiting an hour, I turned it about 120 degrees and did it again, then repeated one more time. It seems like the majority of the barrel now has a nice, white coat. I plan on sanding it in the morning once the primer is dry, then laying down another coat. That should hopefully be enough!
Coat #1
Anyway, I also had an unshaped bit of foam that would become the back shell. In order to force it into the correct shape, I made a "spine" from another foam cutout of the profile view of the shell, then made a couple "ribs" to give the shell its proper shape. I duct taped everything together, and now it's prepared to lay down a coat of the Bondo. This will force the foam to keep its current shape once it hardens. More tomorrow!
Saturday, November 5
A lot of progress today! First, I took the shaped back shell foam and began covering it with the putty. After allowing it to dry for a bit, I sanded it down nicely. Unfortunately, I'm just about out of the hardening agent for the putty, so I may need to pick up a bit more to finish the project. Below is the before and after the first coat of the putty.


Additionally, I started laying the first black coat on the barrel after sanding down the second coat of primer. I'm going to let it dry for about twelve hours before laying on the second coat, but it's already looking pretty great!


Sunday, November 6 - Thursday, November 17
Through the majority of this week, I was down in Dahlgren, Virginia for work, so working on my portal gun ceased for a bit. I have picked up, however, and am hoping to make some progress this weekend!
Anyway, this week has been a bit hectic with odd hours at work and a big injection of Minecraft. I managed to layer on a few coats of primer on the fairly smooth back shell. There are a couple of cracks in the facade I have to take care of before layering on more coats. Additionally, I've got to make the little "nubs" where the black cables originate from.
Speaking of said black cables, I cut lengths of cable from a computer AC cable that I didn't need anymore. I stripped them down enough to isolate the cable underneath in order to wire it properly into the red LEDs I intend to mount on the front. I cut out the front shell and shaped it in a similar fashion to the back shell, using a spine and a pair of ribs and taping everything together with duct tape. As of right now, I've spread a couple layers of putty over the front shell. Since it's a good deal smaller than the back shell, I plan on putting even more putty on it to keep it a bit more rigid.
Although it needs more work and some coats of paint, here's an image of the back shell laying in the proper position on the barrel:
 Friday, November 18
Today I layered on a bit more putty for the front shell and made a few spines to go inside to allow for the connection of the shell to the barrel. These, additionally, were covered in putty and sanded down to allow for a good connection between the two pieces. I also took the opportunity to place the electronic guts inside the gun. After a couple scratches to the paint on the inside of the barrel (ouch!), I was able to mount everything fairly well inside. I capped it off in the back with the piece of foam that holds the switch for the gun color. It worked quite well!

Barrel plus shells, together at last
Saturday, November 19
Today I continued work on the shells. I opted to begin attaching the "nubs" to the shells that will allow for the mounting of the cables that attach between the back and front of the gun. In order to do so, I cut out the shapes from the foam and attached them to the gun with the bondo putty. After covering them with bondo and finalizing the shapes, I sanded them down properly and ensuring each was nice and solid. After allowing the bondo to dry and sanding it, it was time to paint the shells again with spraypaint primer. Once it dries, I'll sand again and repeat the process until I've got a pair of shiny, smooth shells!
Shell with mostly finished "nub"
The three nubs on the back shell in differing stages

Portal hat on Dana!
Wednesday, December 8
So, I've gotten into the swing of things once again with the Portal gun! I dropped by the grocery store and got a piece of tupperware that I felt would work well for the "claws" on the front of the gun. After a bit of work with the Dremel and a pair of scissors, I managed to get a general shape for the plastic pieces of the claws. Each claw is made up of three pieces of plastic and a bit of foam at the end. Below are the pieces and the rough assembly:
Very annoying to cut out!
Everything fitted together on a spare piece of foam
Additionally, I layered on a couple more layers of primer on both shells and sanded them down. I figured I've gotten about as far as I'm going to get on the back shell, so I put on the first layer of white. I plan on coating it a few more times and then topping it with a nice clear coat, and then I'll be done with it!
Sunday, December 11I've finalized the back shell, hooray! Today I also spray-painted the lengths of wire, continued work on the front shell, and cut out the remainder of the claws for the front. I soldered the red LEDs to their respective cables and spray-painted all the nuts and bolts for a nice black appearance.
Additionally, I drilled a hole in the back shell to mount and glue in a screw which holds the assembly in place without needing glue. Eventually it'll be glued in with the final product, but for now it makes more sense to have it still be removable.
The front shell is looking pretty good. I've tried a lot to smooth it out more, though I think I'm going to call it good. I sprayed on two layers of white - after some sanding work and a couple more layers, I'll top coat it, and hopefully it'll look just as good as the back one, if not better.

 Monday, December 12
Almost finished! Today I did a bit more work on the front shell by adding a couple more coats of white paint. It's got some imperfections, just as the back shell does, but I think it'll look just fine in the finished product.
I took all the electronics guts out of the gun barrel and rearranged everything a little to make it a bit more compact. Unfortunately, there were a couple loose connections, which I mostly fixed with a little application of solder. The cyan looks great, though the orange looks a bit red still. Oh well.
I made sure the red LEDs worked when wired in before screwing in a dolly in the back of the gun that would serve as a back handle. After that, I threaded the cables through the holes in the back shell and duct taped the shell onto the barrel. Eventually I think I'll end up coming up with a better way to mount it, but for now the tape should do, since it's not visible from the outside.
Finally, I mounted the middle red LED on the cable to the front of the barrel and painted it with nail polish to make sure that the black color is uniform. Once I'm done with the front shell, all that's left is to glue it on, glue the LEDs into the base of the claws, and then voila, portal gun! It's been a long and arduous road, but I'm so close!
Tuesday, December 13 - Friday, December 16
In order to keep the back shell on without having to glue it down, I drilled another hole in the back of the barrel to accommodate a screw. I glued a screw into the back shell, which will thread through the barrel and be secured with a nut. That way, I can re-open the gun for battery replacement and possible future upgrades.
I cut the two bottom claws a bit shorter (trimmed maybe 3/4" off of them) so they didn't look so long in comparison with the one on top. Then, I glued the front shell onto the barrel with high strength epoxy, letting it dry overnight. After that, I attached the two remaining claws to the front shell. Only a couple steps left!


